
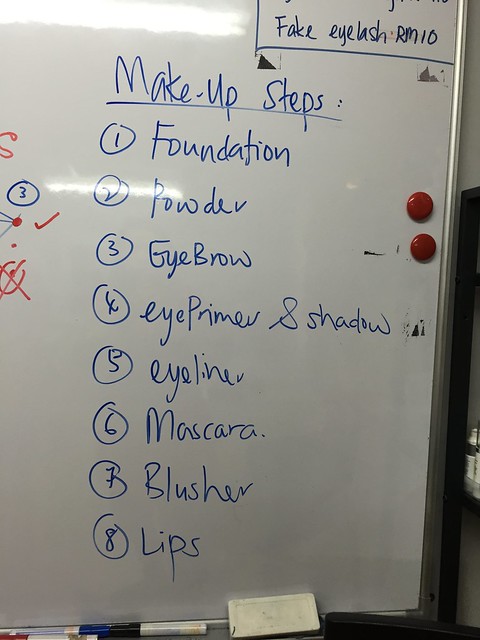
When it comes to make up professional, I am a total failure. I have no idea how to blend eye shadow or even draw lip line properly. So when Sherry asked me to join Malswisse’s Facebook Mother’s Day contest to win a makeover lesson, I decided to give it a try. Lo and behold I won and was able to bring a friend along for the class. Since I had an event last Friday evening, I thought it would be perfect to have the class just prior to the event and then attend the event with professionally learned makeup rather than my usual blah. Even better, Malswisse was so nice to accomodate my request to have a special class just for a few of us bloggers who were all attending the same event, and even allowed me to bring 2 friends instead. Malswisse Makeup classes are very extensive, in fact before the actual makeup, they will teach how to cleanse, and it is 8 step cleansing too. Unfortunately, due to our next event, we were rushing so had to go straight into makeup. There are three branches and we chose to head to Malswisse in Empire Subang for the class.
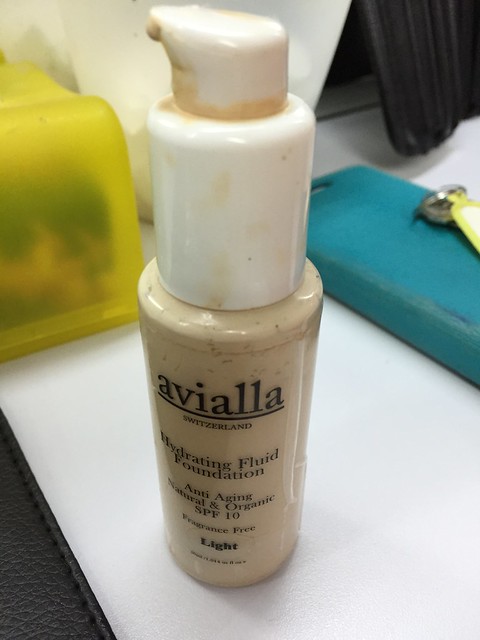
The first step was to apply foundation, after which we used loose powder to very light set it using the extensive brushes.
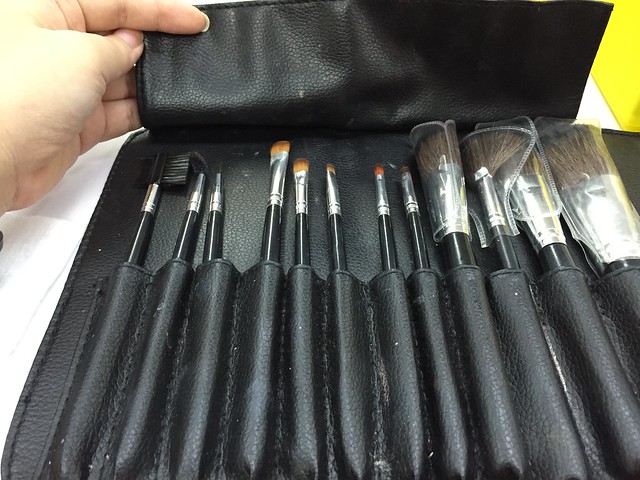
There’s a different brush for various steps taken!
After that, we had to do eye brows, tricky, I never really drew my eyebrows before even though I knew how to shape and pluck them. So I just pluck whenever stray hair appeared, but I never really used an eyebrow pencil to fill it in. So I learned that day how to draw a more defined brow according to the current trend, which is thicker and straigher, not too long or arched.
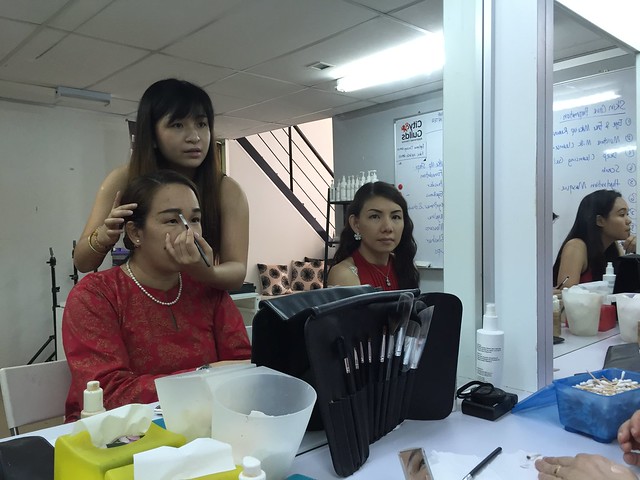
Next it was putting on eyeshadow, which I was most helpless in. Before that, we put on an eye primer cream to help set the eye shadow. I chose a very dark colour and didn’t know how to blend it to not look like Panda. Makeup teacher Vanessa showed me how on one side but I had to do the other side on my own to make both eyes balance. I think I took the longest to finish this step. The darker the colour, the easier it would be to smudge. We learned to brush some loose powder below our eyes first just in case if the eye shadow powder stain our face, we can use a brush to sweep it off easily. In cases when the shadow smudge or was drawn wrongly, we needed to use a cotton bud and some foundation used earlier like a liquid paper to clean it off rather than to clean off with water or other things.
After that I was really rushing that I had no time for pics anymore. We used Eye liner with a brush and drew on the line and it was up to us to draw it curved out or not, but it seemed the latest Korean trend was to draw a straight line without the cat eye look anymore.
Then we put on Mascara with the normal curler but I learned that we had to curl it 3 times at three different parts so that the last can remain curled for a long time. No wonder I could never let it curl usually. I had to curl it the deepest part of the lash, the middle part and then the ends of the lash, that was the actual way to do it.
After that, we put on blusher and I learned how to use the brush and apply the blusher on the brush very balanced way, and to shake off extra powder and sweep it off the brush using one finger in order that the blusher won’t be too red on the face. We also learned to sweep the blusher from side of our eyes to the inner side of the cheeks creating a triangular shape. That is to define the face shape.
Finally, we used our own lipstick for lips as we needed to touch up later, it would be best to use our own colour. Everything was done in less than 2 hours.
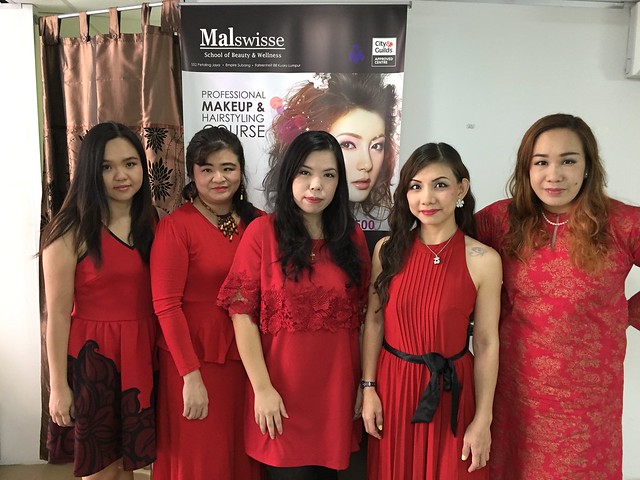
How did we look?